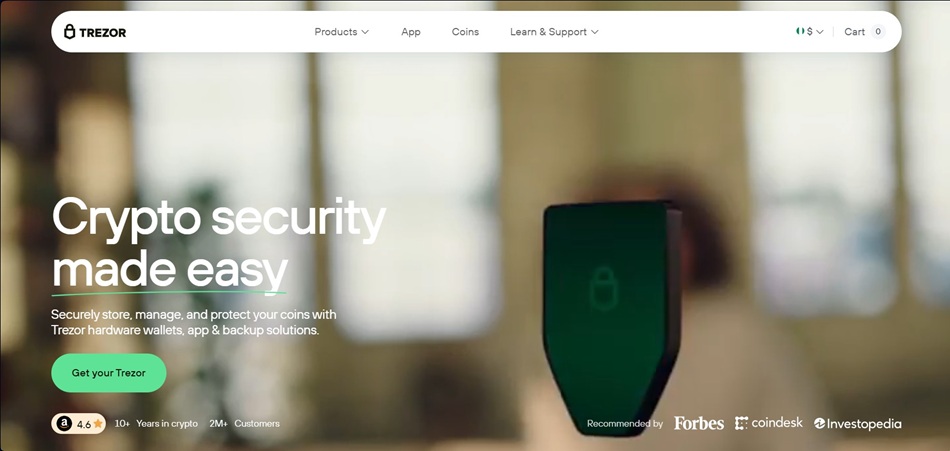
Trezor.io/start: Your Simple Guide to Setting Up a Secure Crypto Wallet
If you’re searching for Trezor.io/start, you’re likely ready to set up your Trezor hardware wallet and secure your digital assets the right way. This guide walks you through what to expect during setup, why it matters, and how to get started with confidence. Whether you’re new to crypto or upgrading your security, this page will help you navigate the process step-by-step.
What Is Trezor.io/start and Why It Matters
The official Trezor.io/start page is the starting point for initializing your Trezor wallet. It offers verified tools, firmware installation, and onboarding instructions to protect your crypto from online threats. Using the correct setup link is essential—hardware wallets are only as safe as the steps you take during installation.
A secondary keyword you should know is Trezor Suite, the desktop and browser application you’ll use to manage your accounts and transactions. Together, Trezor.io/start and Trezor Suite create a secure foundation for your digital portfolio.
How to Begin Your Trezor Setup at Trezor.io/start
1. Connect Your Device
Start by plugging your Trezor Model One or Model T into your computer. Once connected, open your browser and navigate directly to Trezor.io/start. This ensures you’re on the official site and avoids the risk of phishing pages.
2. Install the Latest Firmware
During your first visit, your device may prompt you to install or update its firmware. This step is crucial—the latest firmware patches vulnerabilities and enhances device performance. Follow the on-screen instructions until the installation is complete.
3. Download and Launch Trezor Suite
To fully manage your crypto assets, download Trezor Suite from the installation page. This software provides a clean interface for sending, receiving, storing, and tracking your crypto—all secured by your hardware wallet.
4. Create and Back Up Your Recovery Seed
After launching Suite, you’ll create a new wallet and generate a recovery seed. This 12- or 24-word seed phrase is your master backup. Write it down on paper and store it offline. Never save it digitally or share it with anyone.